There’s a long-held myth that pressure washing your bike’s a bad idea. But if you do it properly, it’s the quickest and easiest way to keep your pride and joy in tip-top condition for years to come.
We’d all sooner be out riding our motorcycle than we would washing it, but if you want to keep your bike in tip-top condition, you’ve got two options – you either never ride it, or you learn how to clean it properly. The easiest way to do it is with a pressure washer.
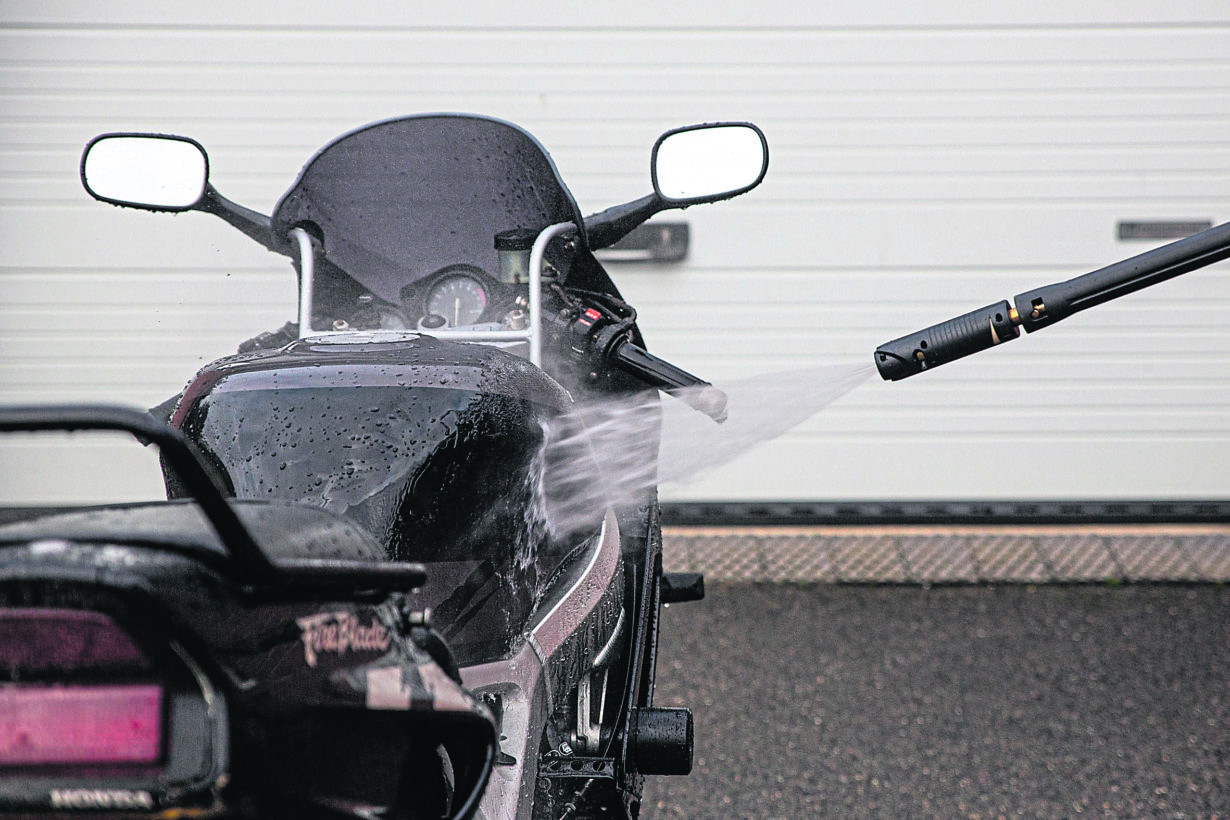
Don’t just dive in, though. A pressure washer is a power tool, and like any power tool it has the potential to cause damage if you use it in the wrong way. But with a few simple tips and tricks, a pressure washer’s a very effective tool for cleaning your bike down and making sure it stays in the best shape possible.
VISUAL CHECK
To make sure we’re not going to cause any problems with a pressure washer, the first thing we get our operators to do is a quick walk around check. It should take no more than a minute. During the walk around, we’re looking out for a number of things, including how dirty the bike is, where the dirt is, and what type of dirt it is.
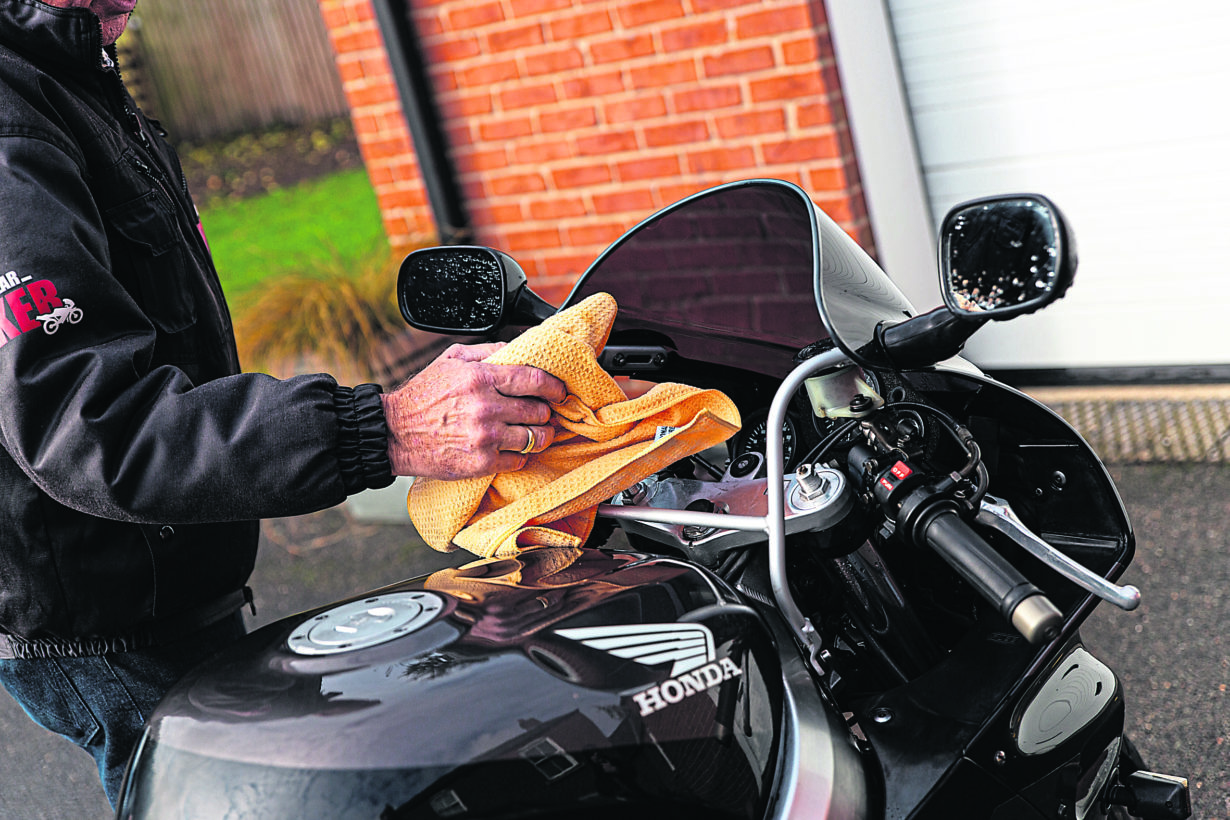
Secondly we’re looking to see if there’s anything on the bike that is going to be affected by using a pressure washer – is there anything loose, broken or damaged? Are there any loose decals, exposed wiring, air intakes and electrical enclosures to watch out for?
By walking around and looking at the bike, you’re establishing the things to watch out for when you start to use the pressure washer and determining what you’re going to do at each stage. It’s simple preparation. You wouldn’t drill a wall without checking that there are no cables or pipes behind it, and it’s the same principle when you’re pressure washing a motorcycle.
CHANGE YOUR PERSPECTIVE
Another simple technique is to change your perspective with a tilt of the head – it allows you to look through the bike and see sections that often get neglected. When you’re working a specific section, you can also rest your hand there. It’ll help to refocus your attention, and hone in on a specific area of the bike.
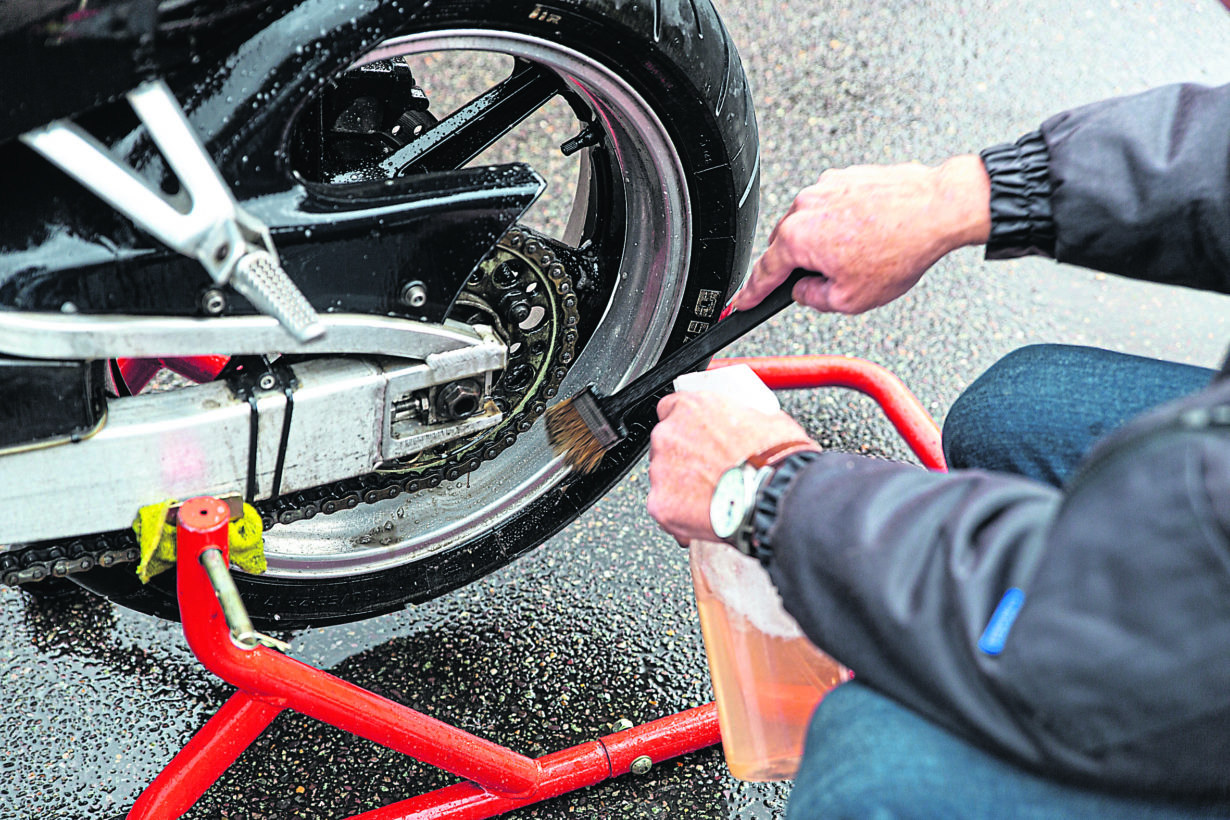
It’s surprisingly difficult to get people to look beyond what they see and focus on a specific section closely. As a result, the observation technique is arguably the most essential part of pressure washing your bike. The skills and techniques outlined are employed right through the cleaning process.
WORK IN SECTIONS
No matter whether you’re checking the bike over or using the pressure washer, you should work in sections. Don’t think of it as a bike, rather think of it as a series of different sections which you’re working your way through methodically. Start at the front end, move on to the cockpit, then to the tank and seat, around to the engine, and then around to the rear end before working your way around the other side of the bike back to the front.
KNOW WHAT YOU’RE DEALING WITH
There are three types of dirt. There is loose surface dirt, there is bonded dirt and there is ingrained dirt. The pre-rinse is designed to take off the loose dirt; shampoo and cleaners will tackle bonded dirt; and ingrained dirt will generally need a more aggressive cleaner or to be polished out.
THE PRE-RINSE
Most people think of a pre-rinse as wetting the bike before shampooing, but that’s not the case. With the pre-rinse, nothing we do is for the sake of doing it; everything has a specific purpose. The pre-rinse’s job is to do two things. The first job is to remove any loose dirt, so it doesn’t mix with the shampoo. The second job is to rehydrate dirt that’s been baked on to a hot engine or exhaust and help the shampoo to work more effectively.
TALKING TECHNIQUE
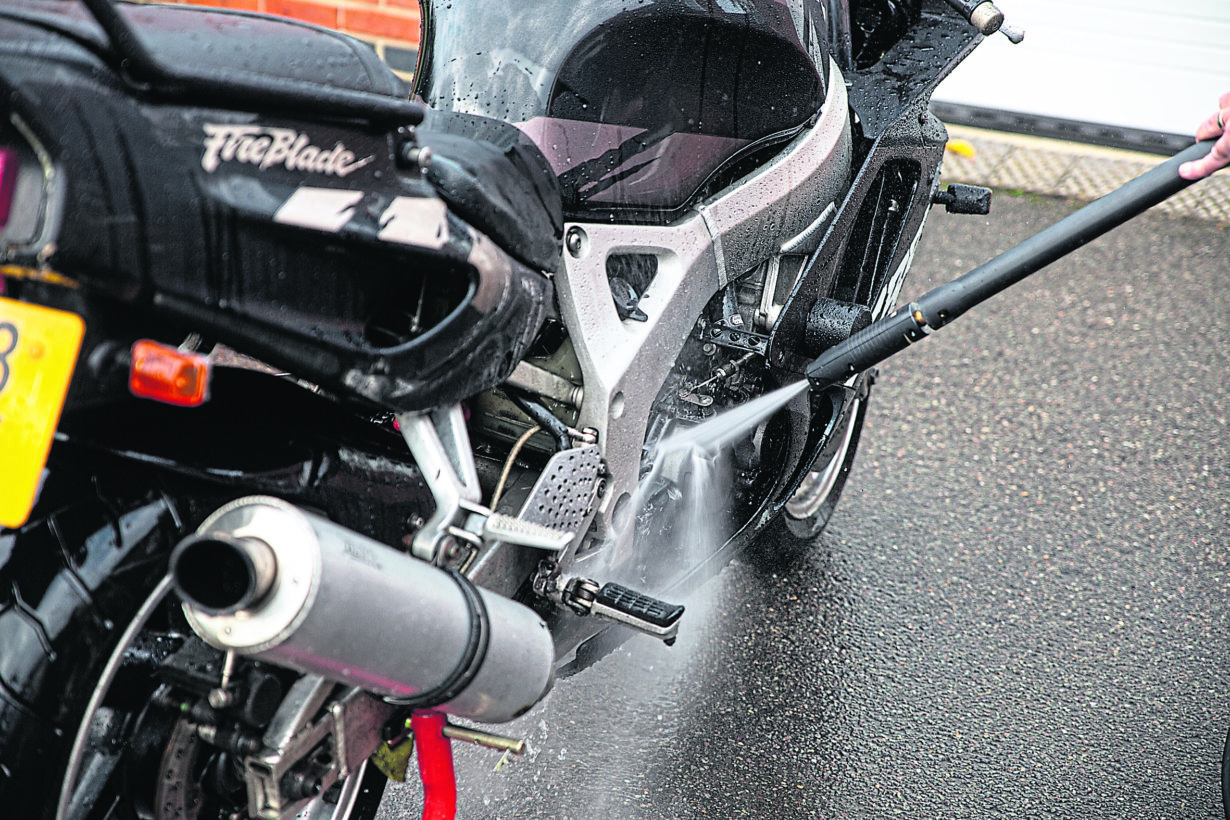
There are two things that people tend to do when they’re pressure washing a bike. They zig-zag – going from one bit, to another bit, and then back to the first. It’s an inefficient way to clean the bike; they’re expending energy and time, while wasting water.
Secondly, they’re usually scared of getting too close with the pressure washer. Manufacturers design bikes to be waterproof. Everything is shielded from rainfall and potential water ingress. If you work from the front end to the back, you’re using the design of the bike to your advantage. It’s capable of being hit by rain at speeds in excess of 70, 80, 90mph.
As a result, when you’re cleaning the bike with a pressure washer you can use most of its force, providing you work along from front to back. You can get in close. But when you turn around and work the other way, you’ll have to be more careful. It’s designed to handle rainfall – not a high pressure jet of water. So, what do you do? You pull back.
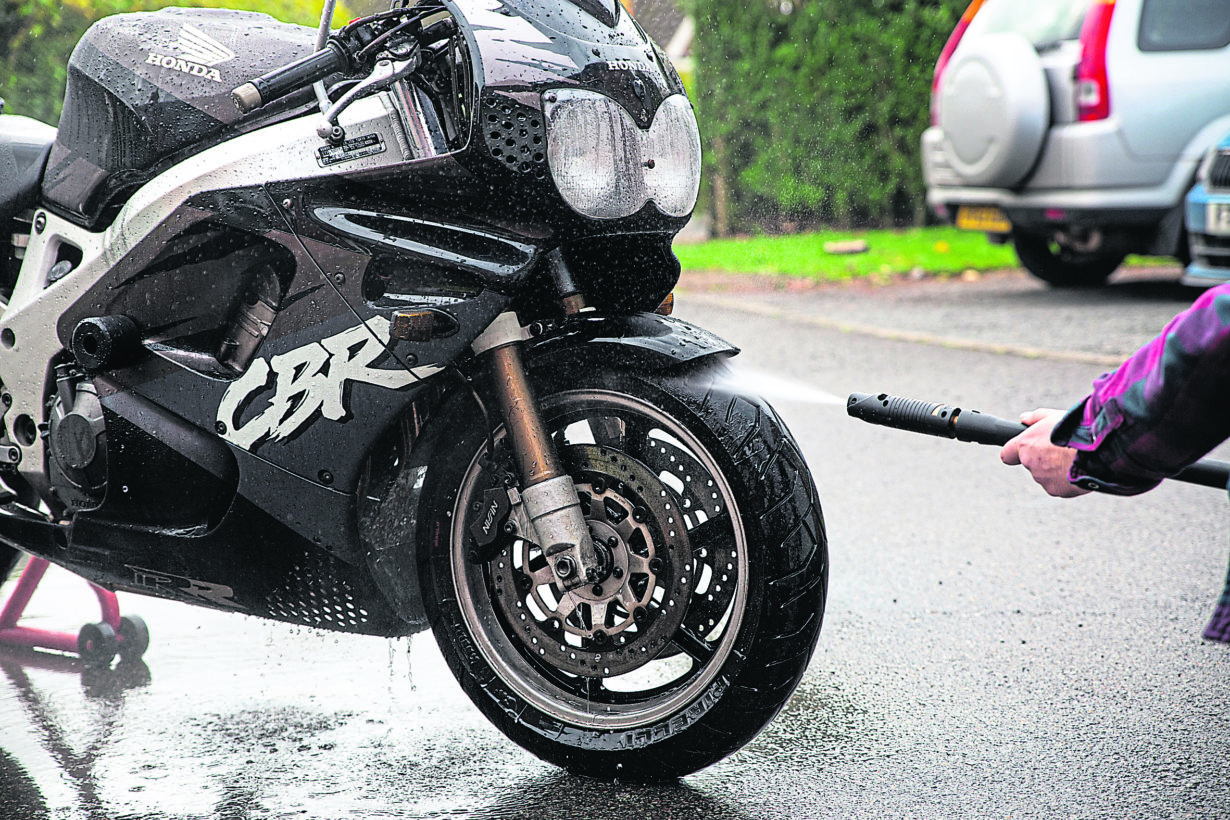
MULTI-PURPOSE TOOL
The pressure washer is a tool. You can use the stream of water in different ways for different purposes, depending on how close you get. The best way to get used to using the pressure washer’s power is to break it up into zones.
Zone 1. The first 5cm from the nozzle. Do not use. It may damage the metal on the bike.
Zone 2. 5-20cm. You’ve got pressure there – but not quite enough to cause damage to metal. Think of it as a hard brush.
Zone 3. 20cm-50cm. Effectively a soft brush setting for working on any more delicate areas.
Zone 4. 50cm-150cm. Rinse setting.
Zone 5. 150cm onwards. Misting. Perfect for when you get around to shampooing the bike. It means you can hydrate the product and stop it drying out.
#morebikes #moreadvice #motorcyclecleaning


